This afternoon, my sweet cousin, Alaina, came over for some Easter Egg dying fun.
We decided to try our own spin on a few Martha Stewart projects.
We visited Michaels and compiled a stack of old magazines for supplies.
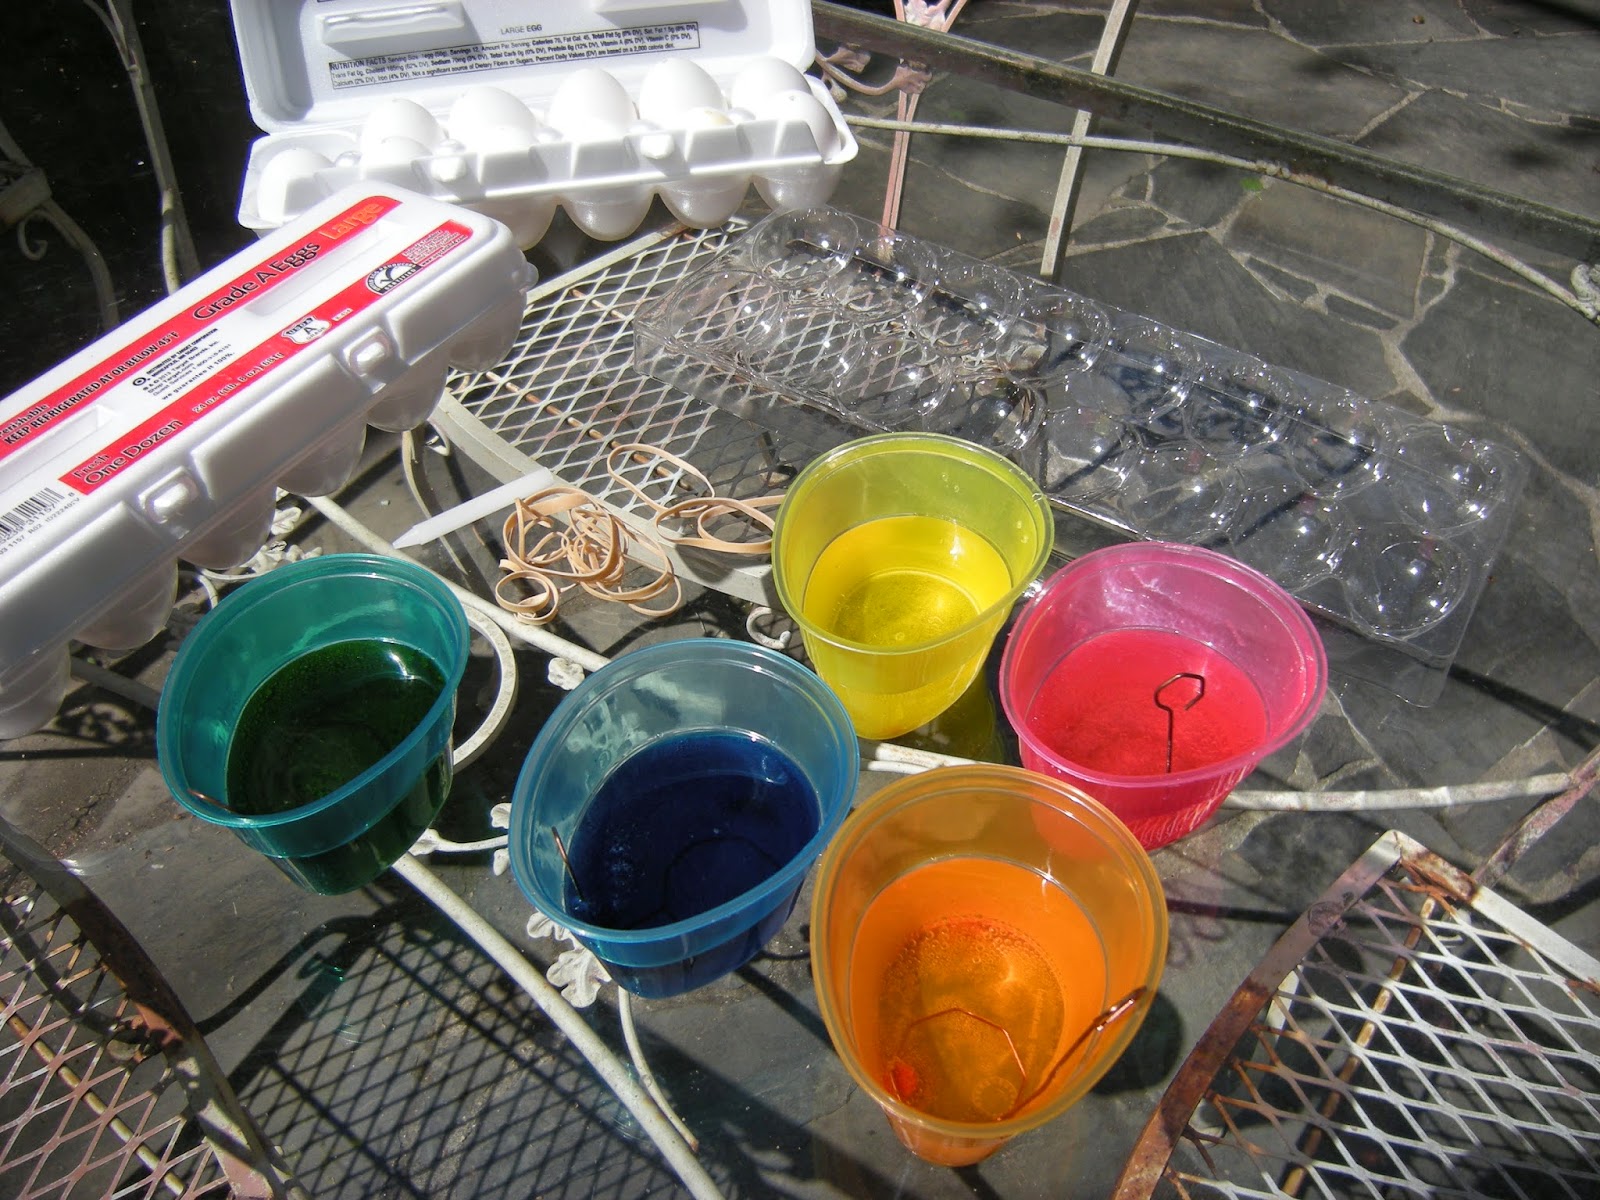
Our first project: Dying most of the eggs
*which we did outside to avoid messes
My first egg was probably my most original egg art.
To make this egg, dye half of the egg in the lightest color first.

Then dye the other half in the second lightest color.

Next, submerge only part of a side in one of the darker colors,

and then repeat on the other side.

Alaina's first egg turned out very pretty.

She used a Martha Stewart technique: creating a pattern with rubber bands.
 *We found that adding more vinegar helps submerge the eggs,
while not significantly diluting the dye.

things are lookin' good!
Now, on to the next project...Collage Eggs!
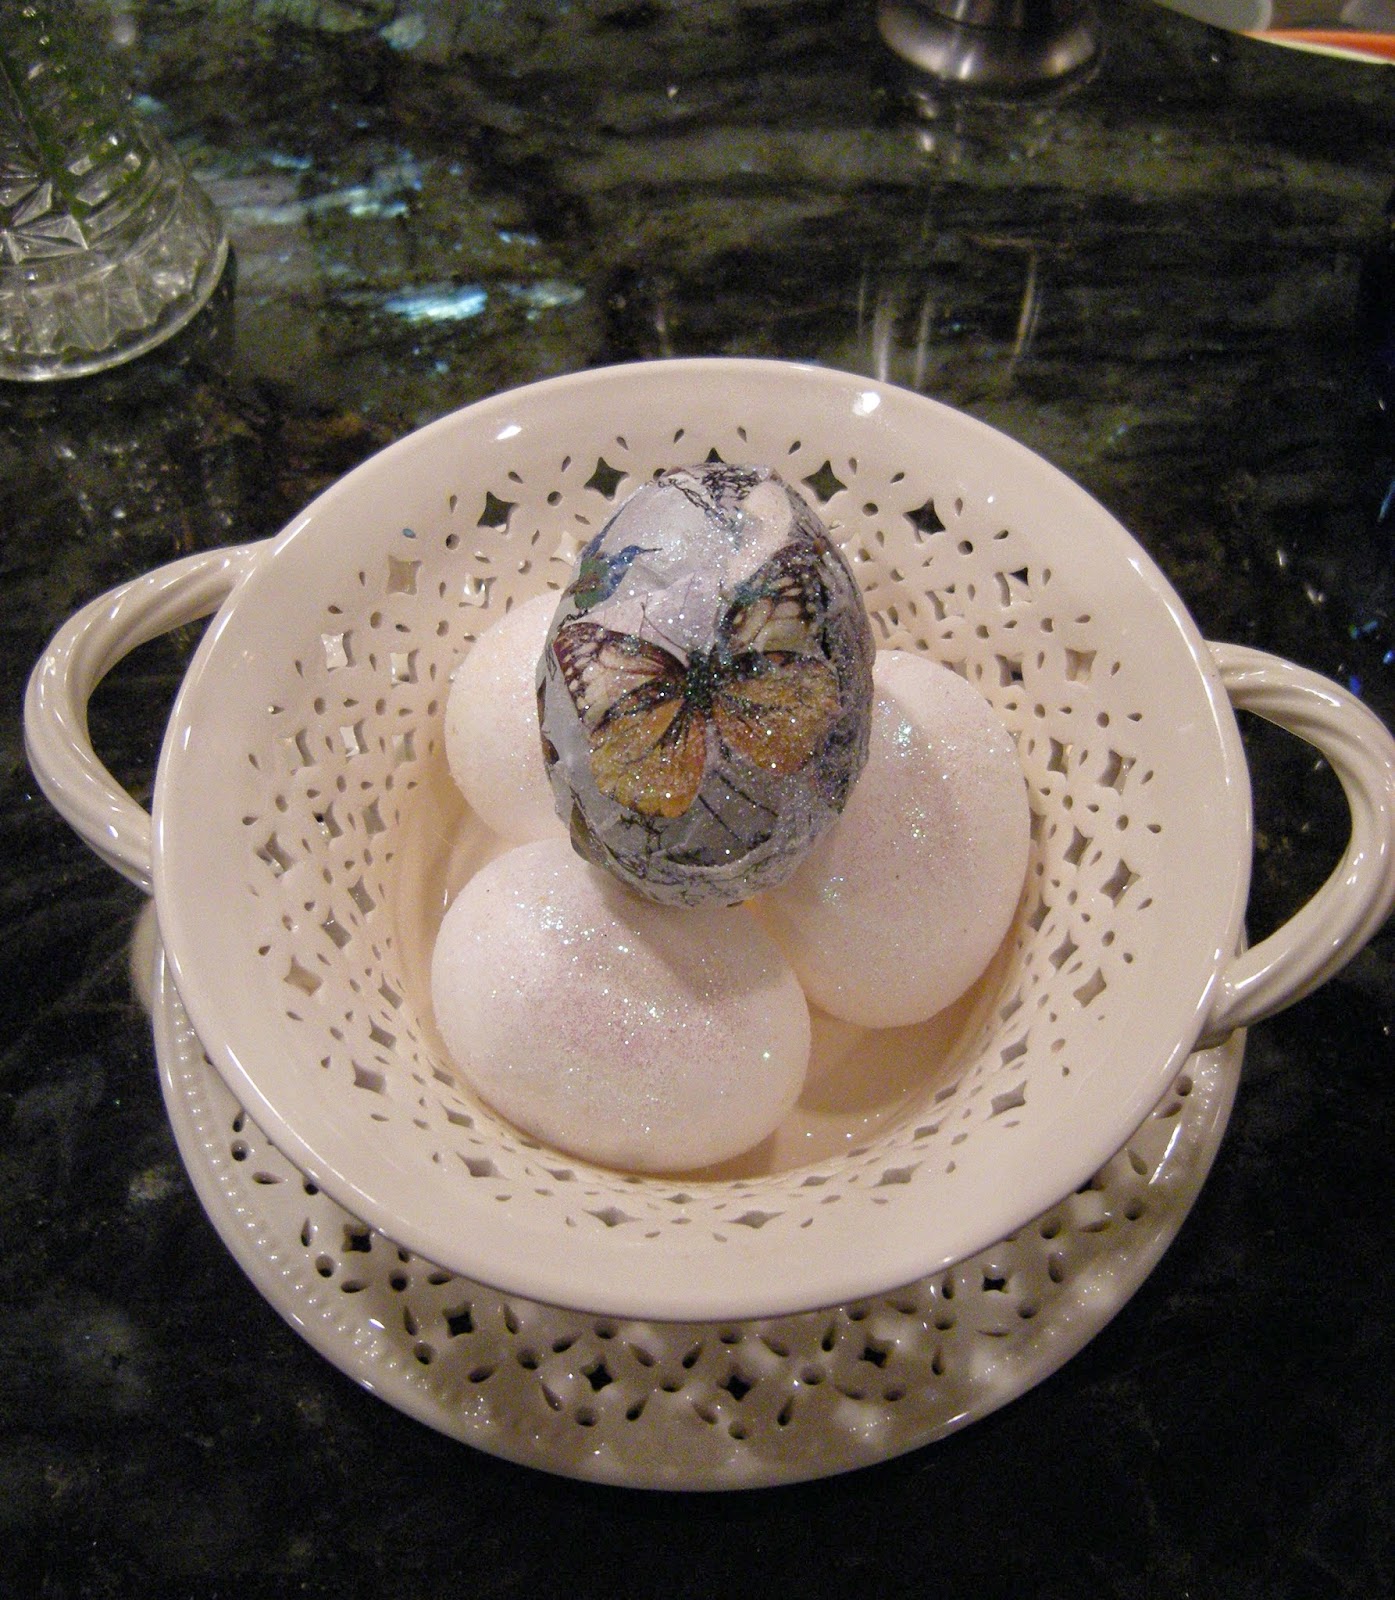
Martha Stewart's stamped eggs inspired these eggs, but we used the craft as a way to recycle old magazines.

To make this egg...

First, cut your favorite patterns or magazine photos into uneven, frayed pieces (to help them fit the egg's shape).

Dip the scraps of paper into warm water (to make the paper more pliable without using tons of glue).

Then, use Mod Podge to attach the clippings to the egg.
Don't be worried if the paper looks bubbly or if the glue looks opaque at first. Things will clear up as the Mod Podge dries.

(or The Dos and Don'ts of Egg Dying Not Found on Martha's Website)
Do dry similar colors next to each other.
Do not try to move light colored eggs after darker colored eggs
...the dye isn't totally permanent.

Do boil or hollow out eggs BEFORE dying them!!!!
Do NOT cut corners for time or photographic purposes and think you can empty them after dying!
....This will happen to your hands, your face, your mother's favorite dish towel, etc.

Glitter Covers a Multitude of Mishaps
Martha Stewart's glittered eggs inspired Alaina and me to hide some of our egg decorating mistakes with just a little bit of craft glue and glitter.
You'll only need a few supplies to make your eggs much more beautiful!

* We found that applying the Mod Podge
directly to the egg, then dabbing with a
paper towel evenly distributes the glue.
The results look perfect!

Though we didn't have room for full monograms, we found that we absolutely needed to add the first initials of all the girls in our family...what else are two Southern Girls to do when crafting?
The eggs are so pretty. Let's look at them again!


OMG! I love anything involving Mod Podge. I can't believe I've never realized its value in egg decorating.
ReplyDeleteI mean, Mod Podge is invaluable for pretty much every craft.
ReplyDelete